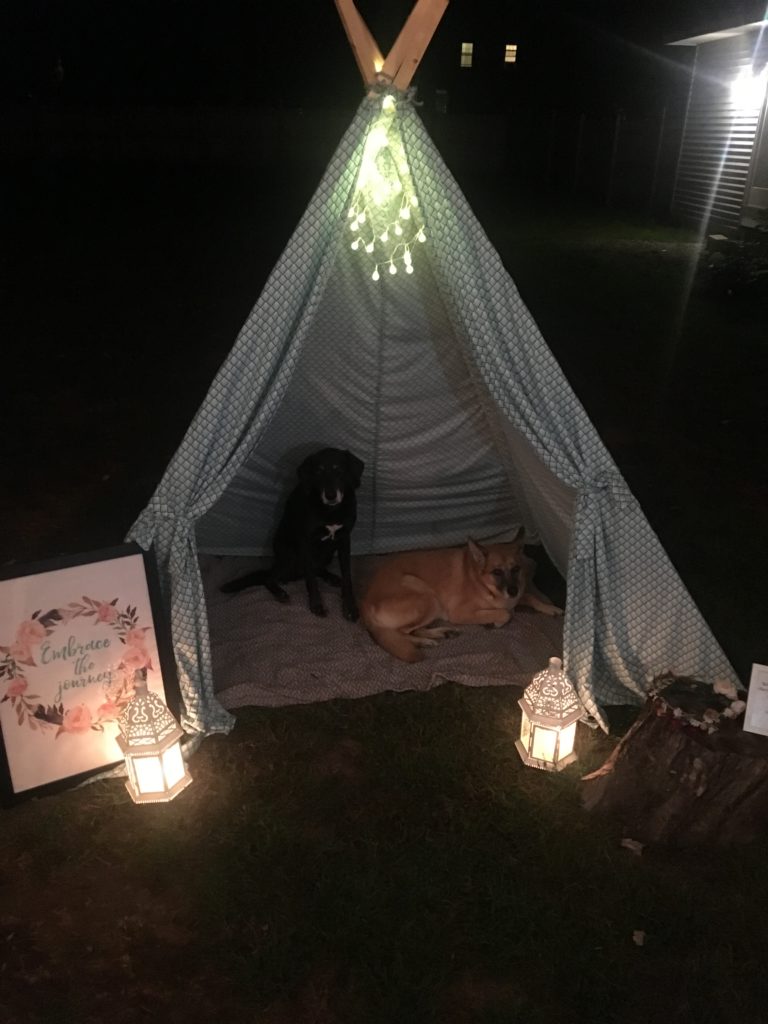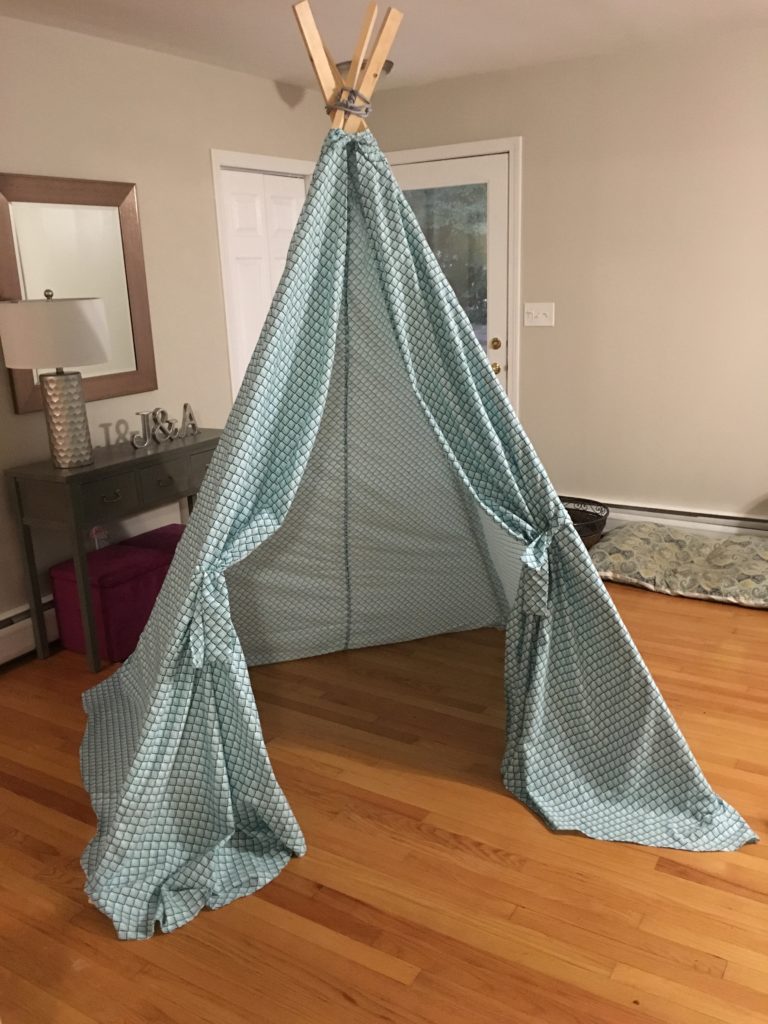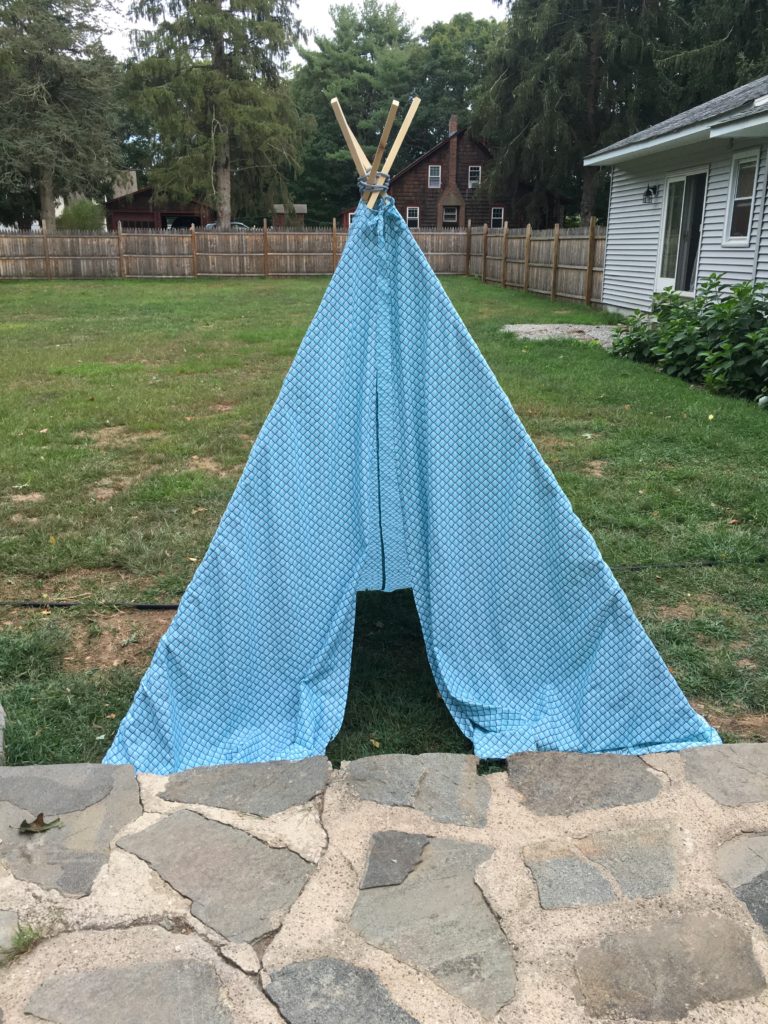


I’m going to apologize in advance that I dont have more detailed photos on DIY but it was actually pretty simple.
Supplies:
4- 1×2″ wide 8′ long pieces of wood
Rope
2 King sized sheets
Drill and wood drilling bit
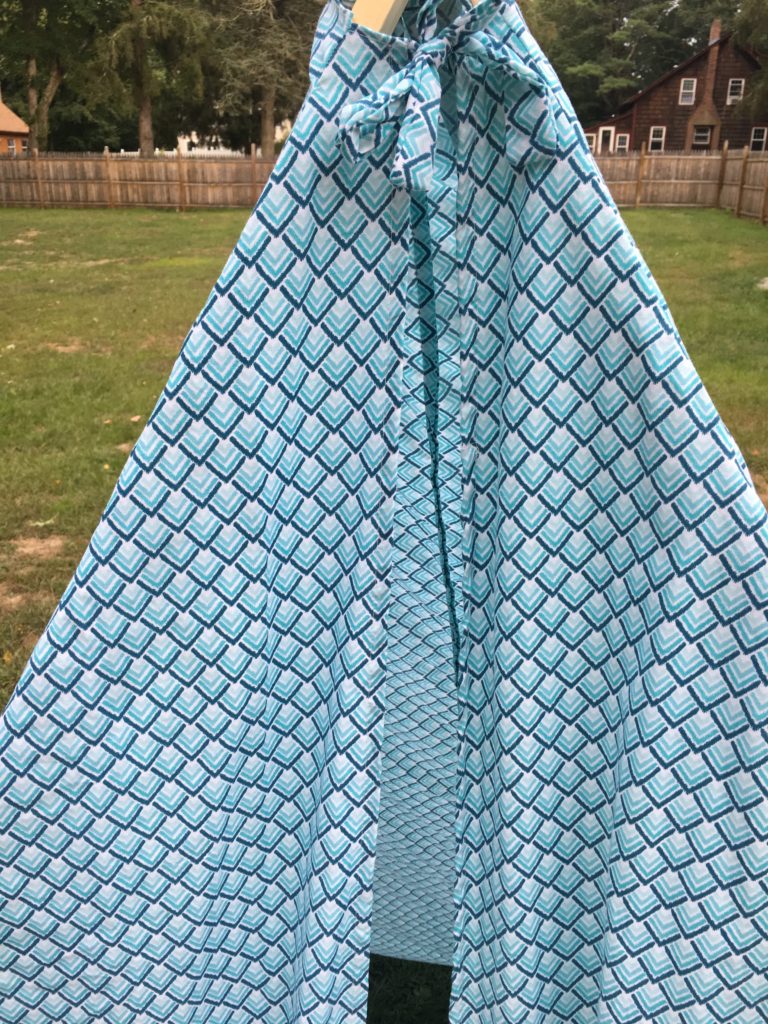
I first drilled holes about 10-12″ down from the top in the wood depending on how high you want them to poke above the teepee. Then I drew the rope through and wove them through the top and tied it so the pieces would be tied together. Then I sewed the bottom pieces of the two sheets together to make one long panel. Keep in mind if you have a print like I used that you make them opposing directions to the front pattern lays the same direction. Then I made a fold where I wanted the wood frame to go and sewed about 4″ from the fold to make a pocket for the wood to go through. I set the piece up and layed the fabric on top to see where I wanted to sew the pocket for the frame, its good to have an extra pair of hands for this. After sewing pockets for all four wood pieces I wanted the top to be a little tighter so I added two strings to tie a bow on the top and added pulls at the front wood pieces to tie back the front like a curtain for photos. The sides will be quite long if you want to cut and ham the bottom to just graze the floor or you can fold it in. Lastly, I used a hot glue gun to put glue at the bottom of the wood pieces to help keep them from moving around, if you are going to do inside I recommend putting on a rug and be careful with children bumping into it. This teepee collapses making it really easy to store and take off the fabric to wash but because the legs move it can collapse down if one of the legs are kicked out and being shy of 8′ it is quite large if it fell so I would be careful since the wood pieces are a bit heavy. If you are wondering about the lights hanging inside them you can get them inexpensively from Amazon. They are LED battery powered so no plug needed and they were just pinned up inside to give a little something extra and light. Happy Crafting!
-Ashley